


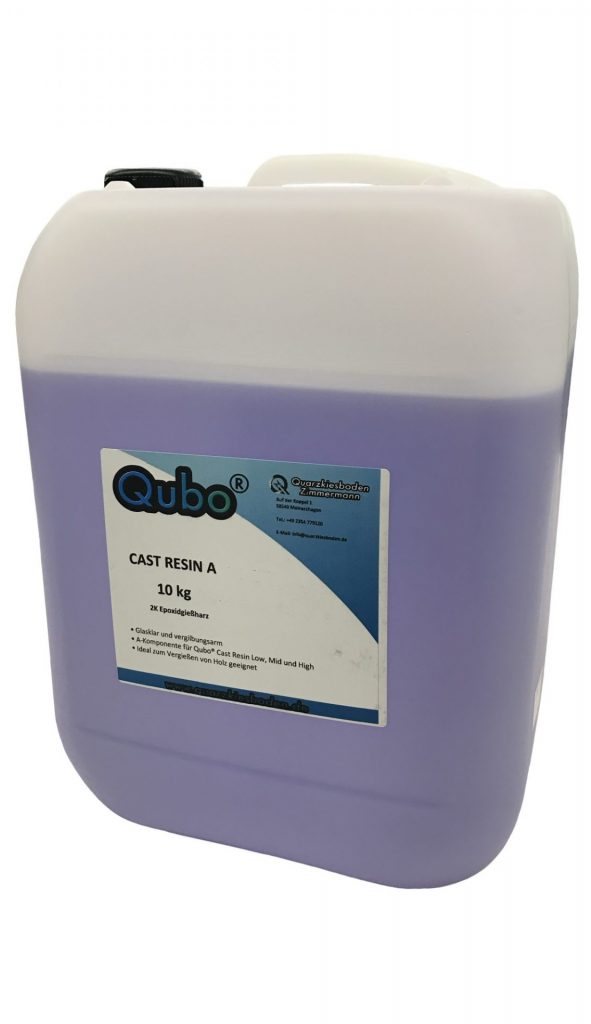
To build an exclusive Rivertable or epoxy resin table, you need our universal resin Qubo® Cast Resin A. It can be combined with one of three special hardeners. Depending on which hardener you use, the resin will have very different properties. This makes it suitable for various applications.
Are you looking for a professional partner who can realize your desired design exactly according to your ideas? Click on the button to go directly to our Rivertable & epoxy resin table configurator. Get your non-binding offer now!
Different hardeners for different layer thicknesses
Many possibilities with just one system resin
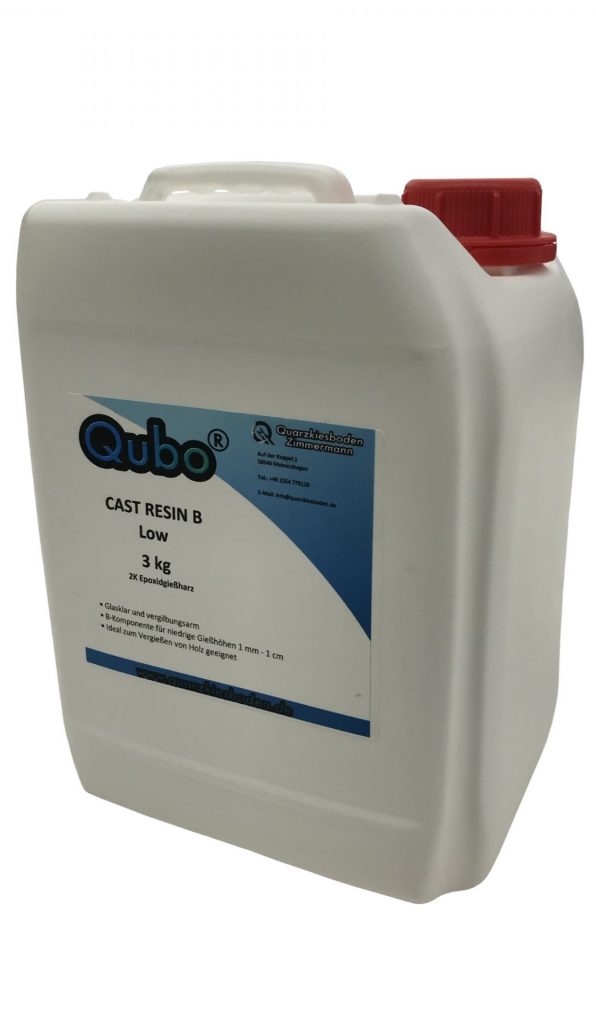
With the Qubo® Cast Resin system, layer thicknesses of 1 mm to 8 cm can be cast. To cast thin layers up to a maximum of 1 cm, which cure quickly, the resin is combined with Qubo® Cast Resin B Low. Layers up to 5 cm thick can be cast with Qubo® Cast Resin B Mid. For even thicker layers up to 8 cm, use Qubo® Cast Resin B High. A maximum room temperature of 20° Celsius is always a prerequisite for optimum casting results. Higher temperatures can lead to boiling of the mixture or cause yellowing and stress cracks in the epoxy resin table.
With our Qubo®Cast Resin A, you only need one system resin for epoxy resin casting. The appropriate hardener is then selected. Whether sealing, potting or top coats – all combinations lead to air bubble-free results. No additional aids or actions such as flaming or spraying are required.
How to cast the perfect Rivertable from food-safe epoxy resin
Qubo® Cast Resin and wood - for creating epoxy resin tables, serving trays, worktops and washbasins
When casting epoxy resin tables, care should be taken to use a food-safe epoxy resin such as our Qubo® Cast Resin A. It cannot be ruled out that the table will come into contact with food, for example if it is used in food preparation to extend the work area.
In addition to rivertables, our epoxy resin can also be used to create serving trays, washstands and worktops for the kitchen, office and workshop.
Here are our detailed instructions for a unique rivertable made of resin and wood.
Step 1: Mold making
We start by building the mold for the Rivertable. Making this is easy and even sustainable, as it is reusable thanks to the use of our Qubo® release wax.
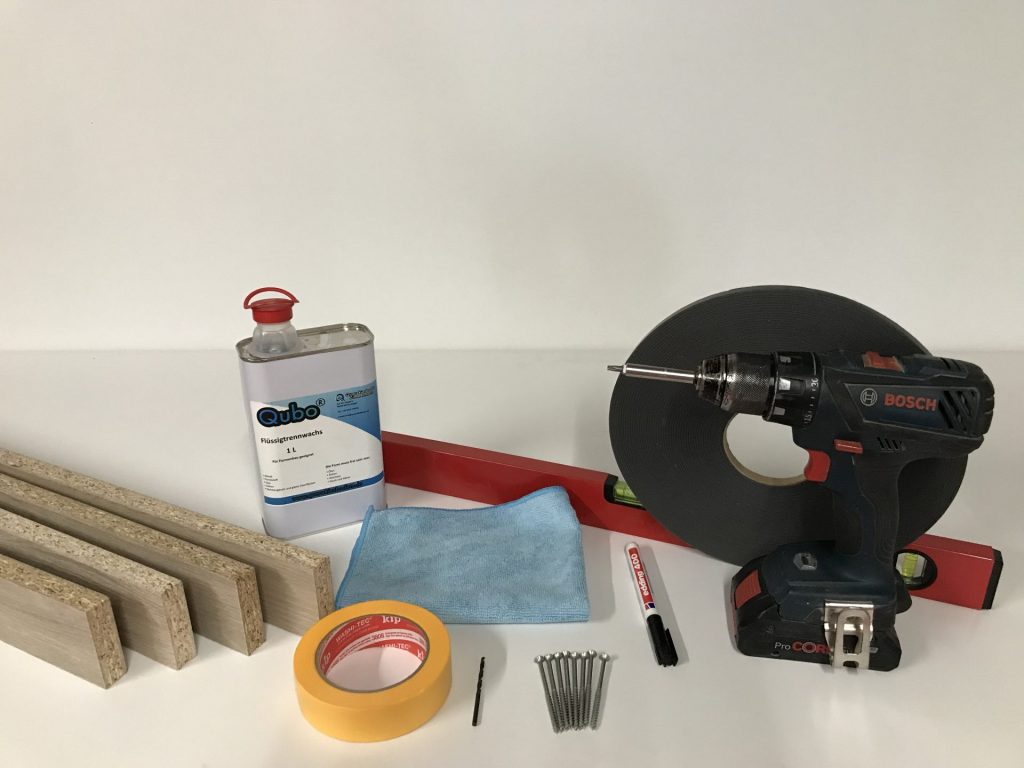
The following material is required for mold making for epoxy resin table casting:
- a drill
- a cordless screwdriver
- Screws
- Sealing tape
- Qubo® release wax
- a microfiber cloth
- a felt-tip pen for marking
- a spirit level
- a base plate made of non-absorbent material and without structure
- Four strips for the side borders
First, the strips are outlined on the base plate and then the holes for the screws are pre-drilled within the marked area. Our sealing tape is used to securely seal the necessary areas. This gives you a reusable mold for epoxy resin table casting. You also save yourself the use of silicone and the subsequent smoothing of the joints.
Next, the aerosol-free Qubo® release wax is applied evenly to the relevant areas, i.e. to all molded parts, using a foam roller so that the cast table top can be easily removed from the mold.
After a drying time of 30 minutes, the next work step continues. The strips are then screwed to the base plate to define the sides. The mold is then set up using the spirit level. This avoids an irregular layer thickness.
Step 2: Sealing
The wood is sealed two to three times before the epoxy resin table is cast. There are several reasons for this: Firstly, this avoids air pockets in the finished epoxy resin table. These are caused by gases that escape from the wood during casting.
Secondly, the sealant protects the casting resin from discoloration caused by tanning agents in the wood. In addition, the sealant prevents the wood from warping due to the absorption of casting resin and the reaction during hardening.
The following material is required for sealing:
- Qubo® Cast Resin A
- Qubo® Cast Resin B Low
- Libra
- a suitable stirrer
- 2 mixing bowls
- a brush or a coating roller
- a resin tray for easy application
- Dosing caps as a base
- Resin roller
- Nitrile gloves
Qubo® Cast Resin A is used with Qubo® Cast Resin B Low for sealing. This combination of cast resin and hardener is ideal for thin layers up to one centimeter thick and is fast-curing. Only small quantities of approx. 300-500 g are usually required for sealing. Resin and hardener are best weighed out in separate mixing cups. This makes it easy to correct accidental weighing or dosing errors.
A suitable stirrer is required for mixing. A wooden spatula is sufficient for small quantities. An electric stirrer is recommended for large quantities. Care must be taken to ensure that the two resin components are mixed well, especially at the bottom and walls of the mixing container, as resin can settle here. If no more streaks form when stirring, the material is well mixed.
After stirring, the mixture is repotted and stirred again for several minutes. If the resin is poorly mixed, this will result in poor curing and sticky spots. The wood is positioned on dosing caps for
Step 3: Fixing the wooden elements
Once the wood has hardened without sticking, it is fixed in the mold. To do this, a thin layer of resin is poured into the mold. This results in an underside without air pockets that no longer needs to be reworked. Now the wood can no longer float or warp during epoxy resin table casting.
For the fixing layer you need:
- Qubo® Cast Resin A
- Qubo® Cast Resin B Low
- a cordless screwdriver
- a stirrer
- Acetone for cleaning the tool
- a scale
- 2 mixing bowls and
- Nitrile gloves
A fixing layer of 2-3 mm is completely sufficient.
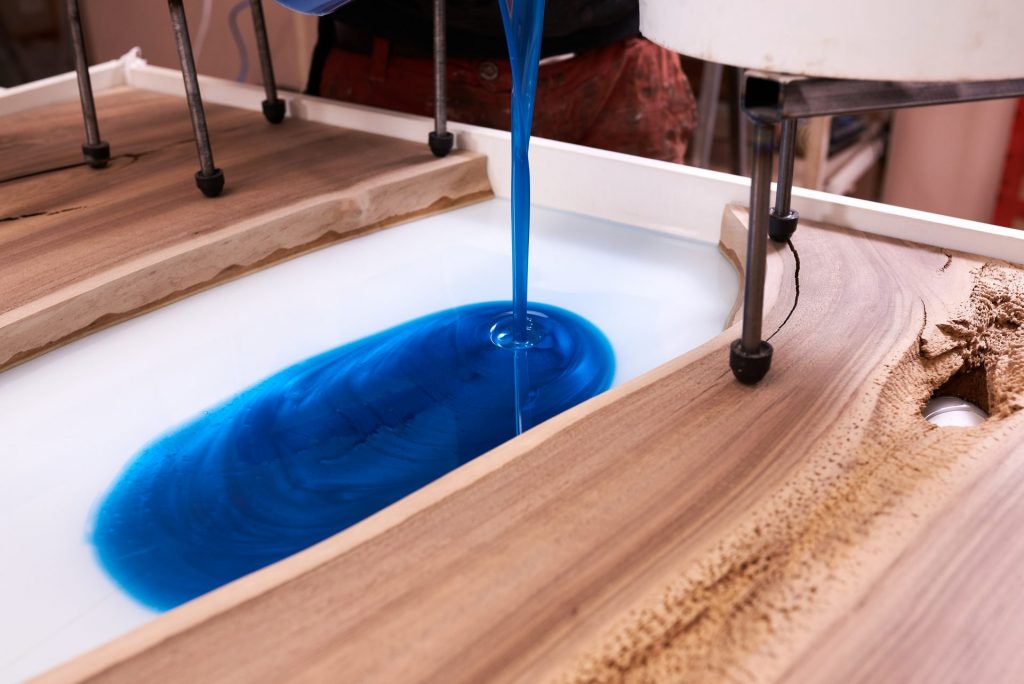
Step 4: Casting the table top
Once the fixing layer has hardened, the final layer is poured.
To pour the final layer of the Rivertable, you need the following:
- Qubo® Cast Resin A
- Qubo® Cast Resin B Mid for layers up to 5 cm high
Alternatively: Qubo® Cast Resin B High for high layers up to 8 cm high - a scale
- 2 mixing bowls
- a cordless screwdriver
- a stirrer
- Cleaning agent Acetone
- Protective gloves
- Colors from our pigment range if necessary
The calculated quantity of resin and selected hardener is mixed and the color is added to the resin system before repotting. When everything is homogeneously mixed, the mold is carefully filled.
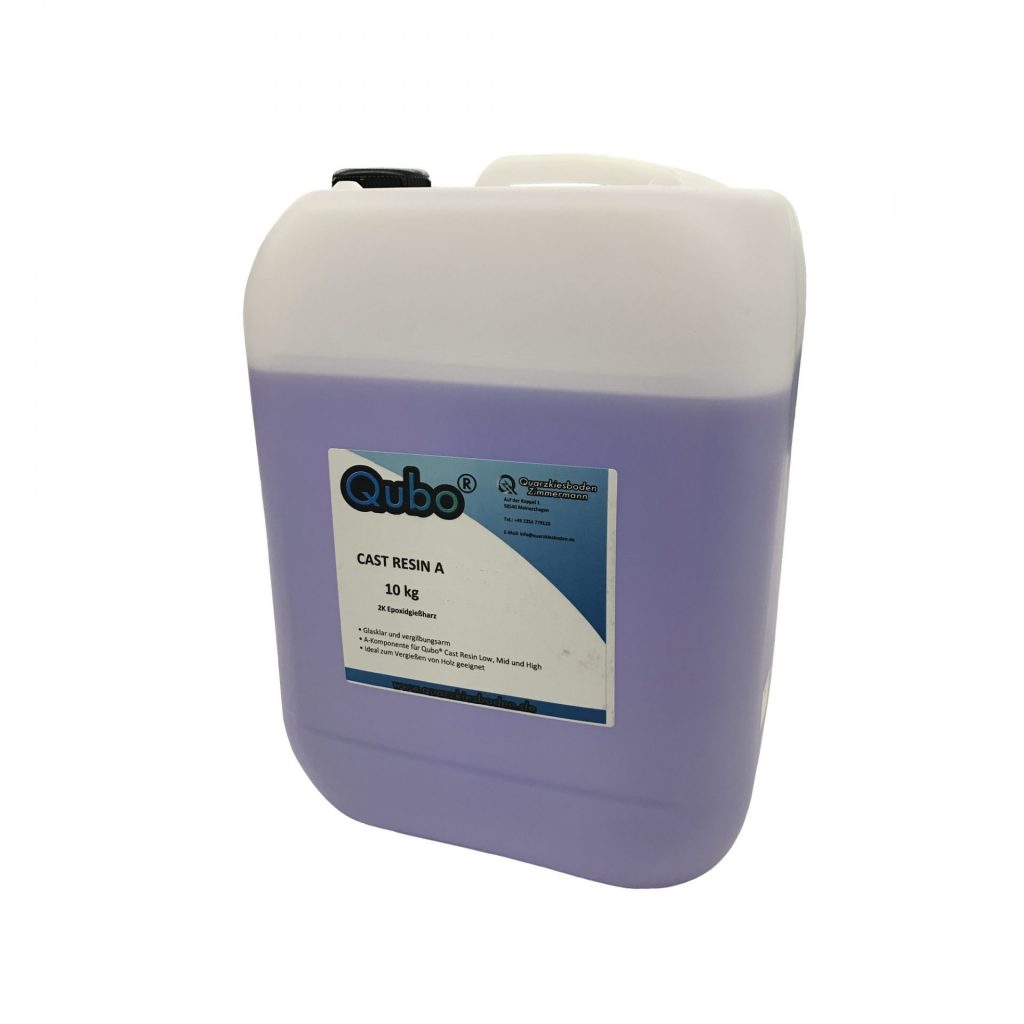
Main component of the cast resin system
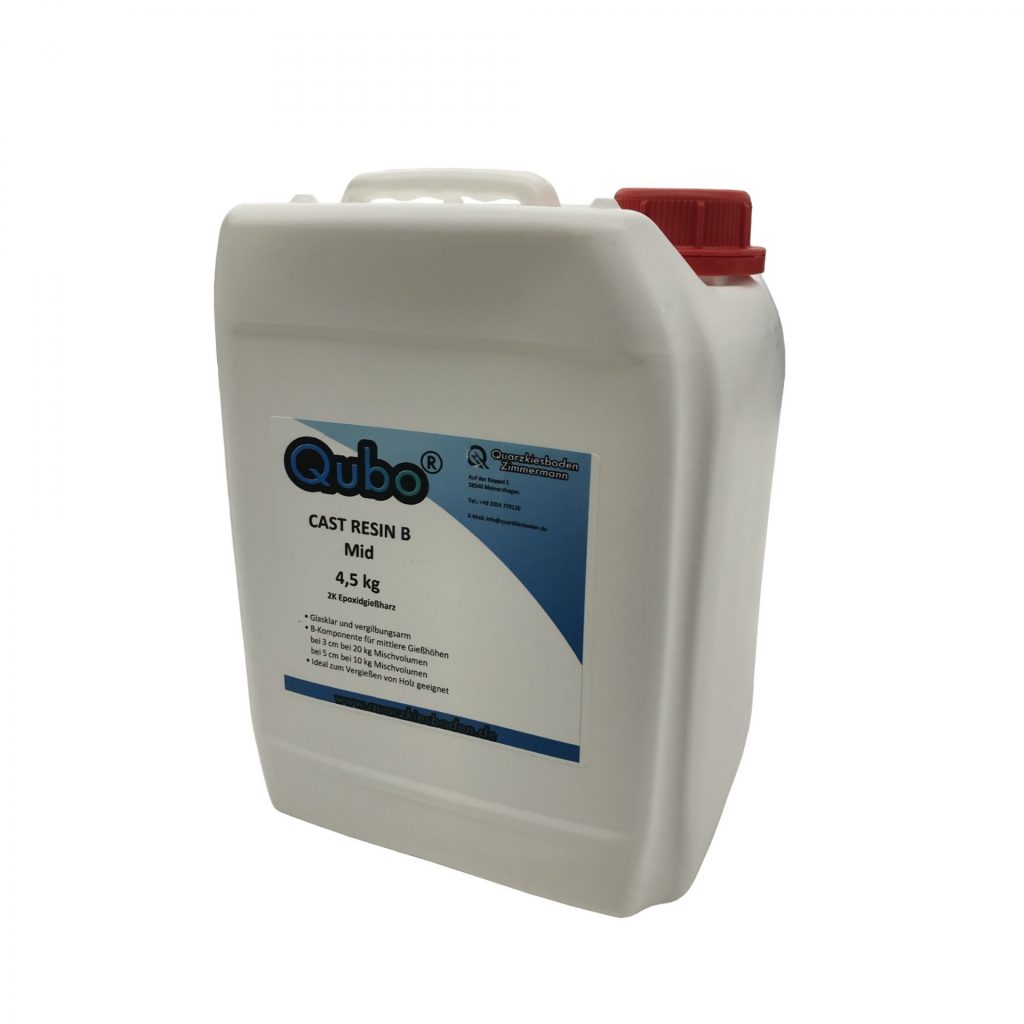
Hardener for layer thicknesses up to 5 cm
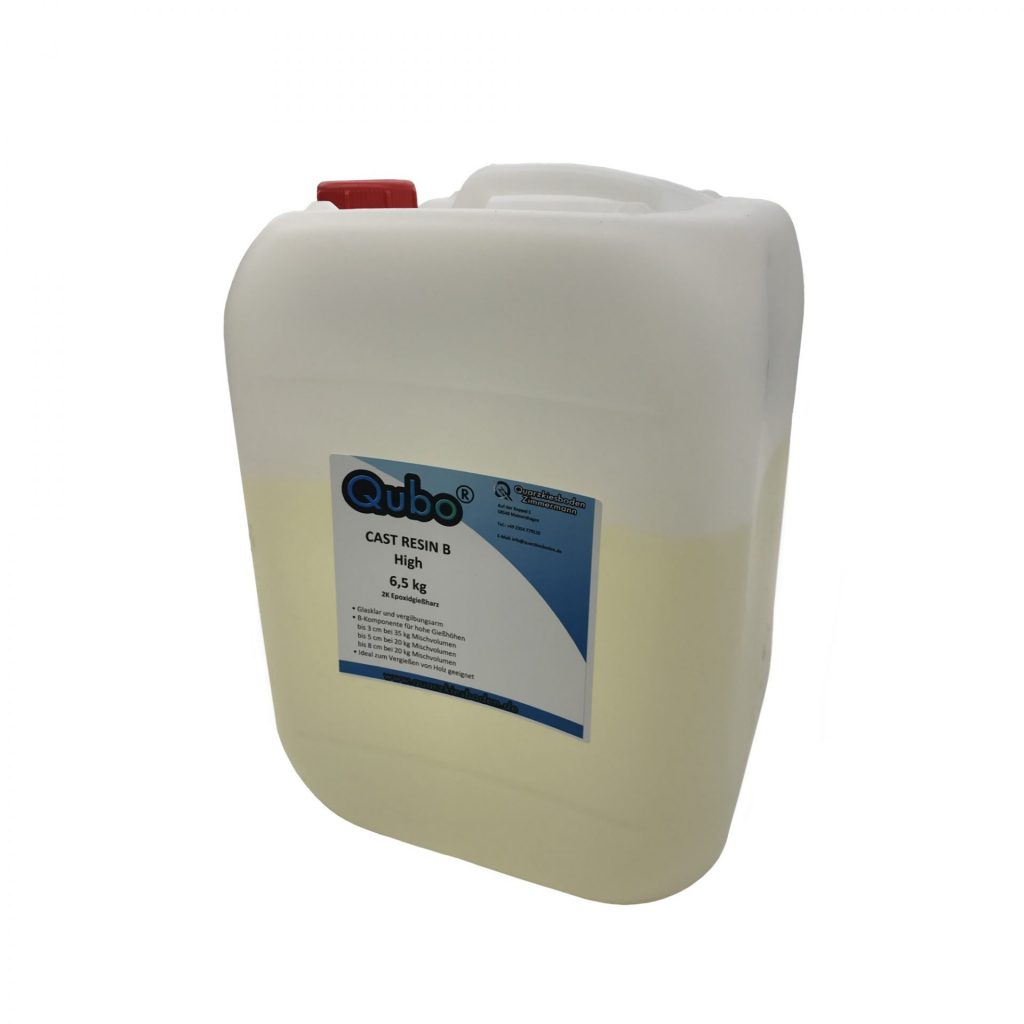
Hardener for high layer thicknesses up to 8 cm
Step 5: Removing the tabletop from the mold
The screws are removed to remove the table top from the mold after the curing time has elapsed. The epoxy resin table top can now be reworked as required.
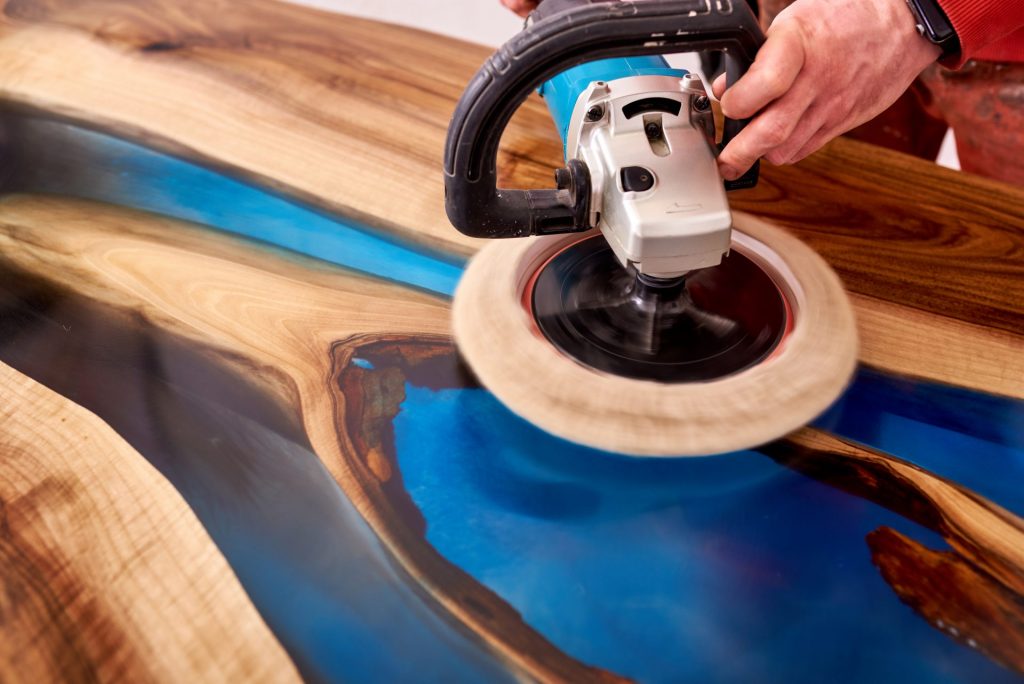
Step 6: Sanding and polishing the surface of the Rivertable
To achieve the perfect finish, the surface of the Rivertable is sanded and polished. We have various sanding and polishing sets in stock for this purpose. A random orbital sander is required for sanding, ideally with a dust extractor. A suitable dust mask (FFP2) should always be worn.
For the rough sanding of the Rivertable you need:
- Sandpaper with grit sizes P 120 to P 400
- a cleaning pad
- a microfiber cloth
The coarse sanding of the table top for the Rivertable is started with 120 grit. It is important to clean the sandpaper regularly with the cleaning pad so that it does not become clogged. As soon as the epoxy resin table has an even matt finish, start with the next grit. Then move on to fine sanding.
The following is required for fine-tuning the Rivertable:
- Sandpaper grit size K 600 to K 3000
- Matching intermediate plates with different degrees of hardness
- a cleaning pad
- a microfiber cloth
Fine sanding of the panel for the epoxy resin table begins with grit size K 600 and the harder of the two intermediate discs. When fine sanding, it is advisable to carry out two sanding passes with each grit size. In between, the sanding dust should be removed with a microfiber cloth. The softer intermediate pad is used from grit size 2000. Fine sanding is completed with 3000 grit.
After sanding, the Rivertable can be polished to a high gloss. A rotary sander with suitable backing pads is best suited for polishing.
You also need it for polishing:
- a suitable backing pad
- our polishing paste
- our foam pad, and
- a microfiber cloth
The polishing paste is applied to the foam pad and spread. The surface of the future Rivertable is then polished with the pad to the desired gloss level.
Step 7: Surface sealing
If the wooden elements of the epoxy resin table have also been sanded, the sealant applied in step 2 has been removed again. To reduce the penetration of liquids into the open wood surface, the wood can be resealed with our wood sealer. It is a food-safe natural product.
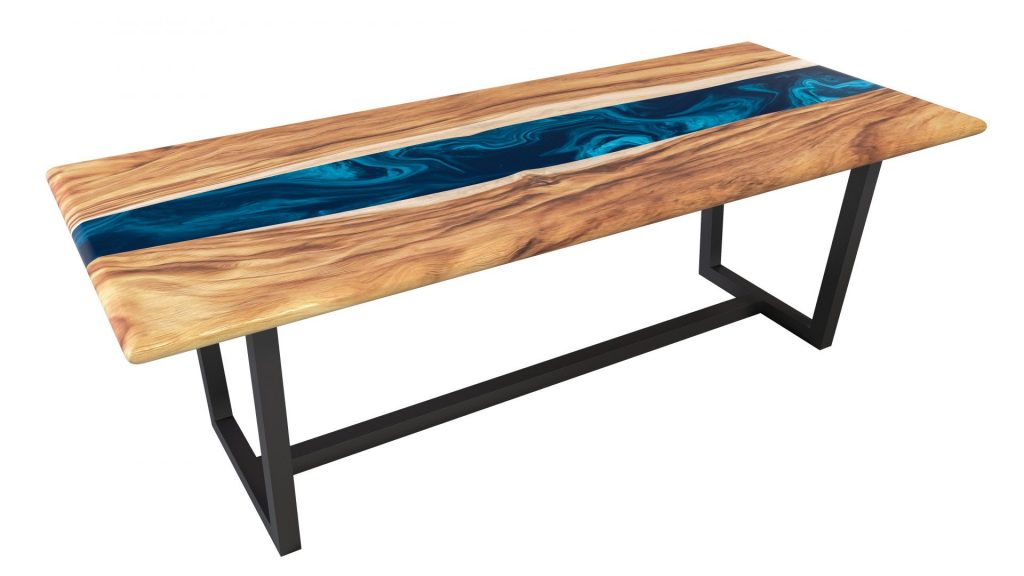
Now all the epoxy resin table needs are the matching table legs. Once these have been selected and fitted, the table can be set up at its destination. We hope you enjoy your new, unique piece of furniture. Because when a Rivertable is created, it is always unmistakably unique.
Configure an epoxy resin table in 5 steps now
Create and order your own Rivertable
If you don’t want to cast an epoxy resin table yourself, you can now create and order your own Rivertable quickly and easily with the help of our configurator. To do this, use our configurator to put together a table according to your personal requirements. This means you choose the type of epoxy resin table: Dining table, coffee table, desk, conference table or side table and decide on a type of wood. Then you determine the color of the resin and the dimensions of the table. Then select the matching table legs.
Receive a quote for the epoxy resin table
Delivery of your Rivertable
After configuration, your request will be forwarded to one of our carpenters and you will receive a quote. As soon as you have confirmed this, construction of the epoxy resin table can begin. Once your unique Rivertable has been completed, it will be delivered.
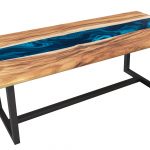
Each Rivertable is absolutely unique. Each piece of wood used has a unique grain. Woods with bark have different contours. With Rivertables, the contours of the wood create a natural-looking flow.
Further information on food-safe epoxy resin
There are numerous possible applications for Epoxy resin, for which there are various resins. Epoxy resins are also used for the production of floors. These must meet special requirements in terms of abrasion resistance and resistance to oils and alkalis. Due to these requirements, they are often not safe for contact with food. Therefore, a food-safe epoxy resin that has been tested in accordance with the guidelines of § 31 of the German Food and Feed Code (LFGB) must comply with the applicable standards and laws. Compliance with these regulations is a prerequisite for the use of materials in articles of daily use.
A system is always tested, i.e. an epoxy resin combined with an epoxy resin hardener. A food-safe certificate is therefore only valid for this specific combination. If, for example, a different hardener is used for a combination, this requires its own test procedure.
Criteria for a food-safe epoxy resin
A food-safe epoxy resin must fulfill the following criteria:
- The epoxy resin does not change the taste of the food and does not give off any odor to it
- It does not release any uncrosslinked components into the food
- In contact with food, epoxy resin does not change the surface and does not migrate into the food
- There is no risk to health from consuming food that comes into contact with the epoxy resin
Why should an epoxy resin be food-safe?
Our food comes into contact with many materials and objects during production, processing, storage, preparation and serving. These objects, which are in direct or indirect contact with food, must not transfer any components or harmful substances to the food when they are used.
These include:
- Containers and packaging for the transportation of food
- Crockery, pots and pans
- Coasters, serving trays, breakfast boards
- Machines and screw conveyors for food processing
- Packaging materials
Use of epoxy resin with approval for food contact
A suitably approved epoxy resin for contact with food can be used to make epoxy resin tables, chopping boards, serving trays, knife blocks, coasters, rivertables and various other pieces of furniture. Bowls for fruit etc. can also be turned from epoxy resin blocks. The testing of the resins also includes resistance to citric acid, alcohol, salt, vinegar as well as raw meat and fish.
In this context, it is particularly important that the mixing ratio of epoxy resin to epoxy hardener is precisely adhered to by the processor. The processing instructions and other details, such as the curing temperature and the time to final strength, must also be observed. This is the only way to guarantee safe use.
Is the use of epoxy resin questionable?
Our epoxy resins with the respective hardeners are suitable for processing by the end customer. In our Qubo® Cast Resin product line, we only offer resin systems and accessories that can be processed by hand by the end customer. Nevertheless, suitable personal protection is required and is expressly recommended.
These include:
- Nitrile disposable gloves to prevent skin contact
- Safety goggles
- Breathing mask if necessary, if adequate ventilation cannot be guaranteed
Of course, there are also toxic epoxy resins on the market that should not be sold to private customers. Unfortunately, however, toxic or corrosive products (especially from abroad) are often not properly declared. A rivertable made of food-safe epoxy resin ensures…
…for a strong appearance!